I’ve been painting on things I have sitting around the house. This owl was painted in acrylic on stained board. I wanted to paint on the board without losing the nature of the surface. The board has some good sized knots so I incorporated them into the image and left the wood grain in the background. The owl and tree came from two different photographs. I took the owl photo at a taxidermy exhibit I attended years ago. Light sources can be an issue when combining imagery from different photos. That wasn’t so much a concern here as I was more interested in the surface, the marks that could be made with the paint, and working with a limited paint palette.
Sometimes, when I’m running errands, I see something that catches my eye and I try to snap a picture or make a quick sketch to use later. This building is typical for small towns in my area. When the photo was taken I thought the crumbling building breaking through the weathered paint might make for an interesting composition. I didn’t realize there was a cat in the window. It was a happy surprise when I looked at the shot later and saw it basking in the sun. The painting is rendered in acrylic on board. It’s only 8 inches by 10 inches so it’s fairly simple. I wanted the piece to be more about capturing the feeling of a sun-drenched Southwestern Ontario afternoon rather than a faithful reproduction of the photo.
This blog post was originally shared on my old studio blog on August 19, 2019.
This crow study was completed in my small (5 1/2 by 8 in) sketchbook. Rather than using a pigment (ink) pen this image was rendered with a brush, Speedball Super Pigmented Acrylic Ink, and acrylic paint. Using a brush with the acrylic ink allows for the opportunity to make a variety of marks without changing tools. The super black ink is highly opaque when undiluted but I also used it as a wash here to create different tones. I opted to work from dark to light and layered acrylic paint on top of the ink to flesh out the image.
This blog post was originally shared on my old studio blog on January 25, 2018.
The local non profit theatre organization that I volunteer for (the West Elgin Dramatics Society) staged J.M. Barrie’s ‘Peter Pan’ for their 2017 year end production. I had the opportunity to design the set. Barrie’s 1904 play script includes pages of set and production notes that weren’t a realistic aim for the organisation’s budget or the performance hall footprint. The cast was a large one (32 on stage plus the backstage and tech crew) so space was at a premium. The production called for a nursery, three separate settings in Neverland (daylight woods, lagoon, night woods split with the house underground), the deck of a pirate ship, and a place for Nana’s dog house/the Darling house yard.
I first read Peter Pan as an illustrated story when I was a child. I wanted to bring the same kind of feel to the set design. I decided to build large “boxes” that the stage crew would rotate to display four scenic murals with the other two scene sets remaining in place. Each original mural was 8 feet high by 12 feet long spreading across three “box” faces. I constructed the boxes combining existing theatre flats with additional ¼ inch mahogany sheets over frames made of 1 inch by 3 inch pine boards. Set build for a WEDS production usually begins around two weeks before a play opens so time was definitely a factor in getting the set together. Budget is always a consideration so the paint used to create the imagery was a combination of discount mis-tinted house paint and acrylic craft paint. I created the pieces with the knowledge that the flats used to build the boxes would be disassembled at production’s end to be painted over for use in other plays. In some of the pictures you can see some wear and tear under the paint from other set uses. That does make it hard to determine how much work to put into them but hopefully there were enough details included to create the required atmosphere.
The view from the catwalk shows the Darling family nursery as well as the yard where Nana’s house sits.
The backdrop on the wall and the trees were originally created for past productions (See How They Run and Alice Through the Looking-Glass). Community theatre often means recycle, recycle, and recycle some more.
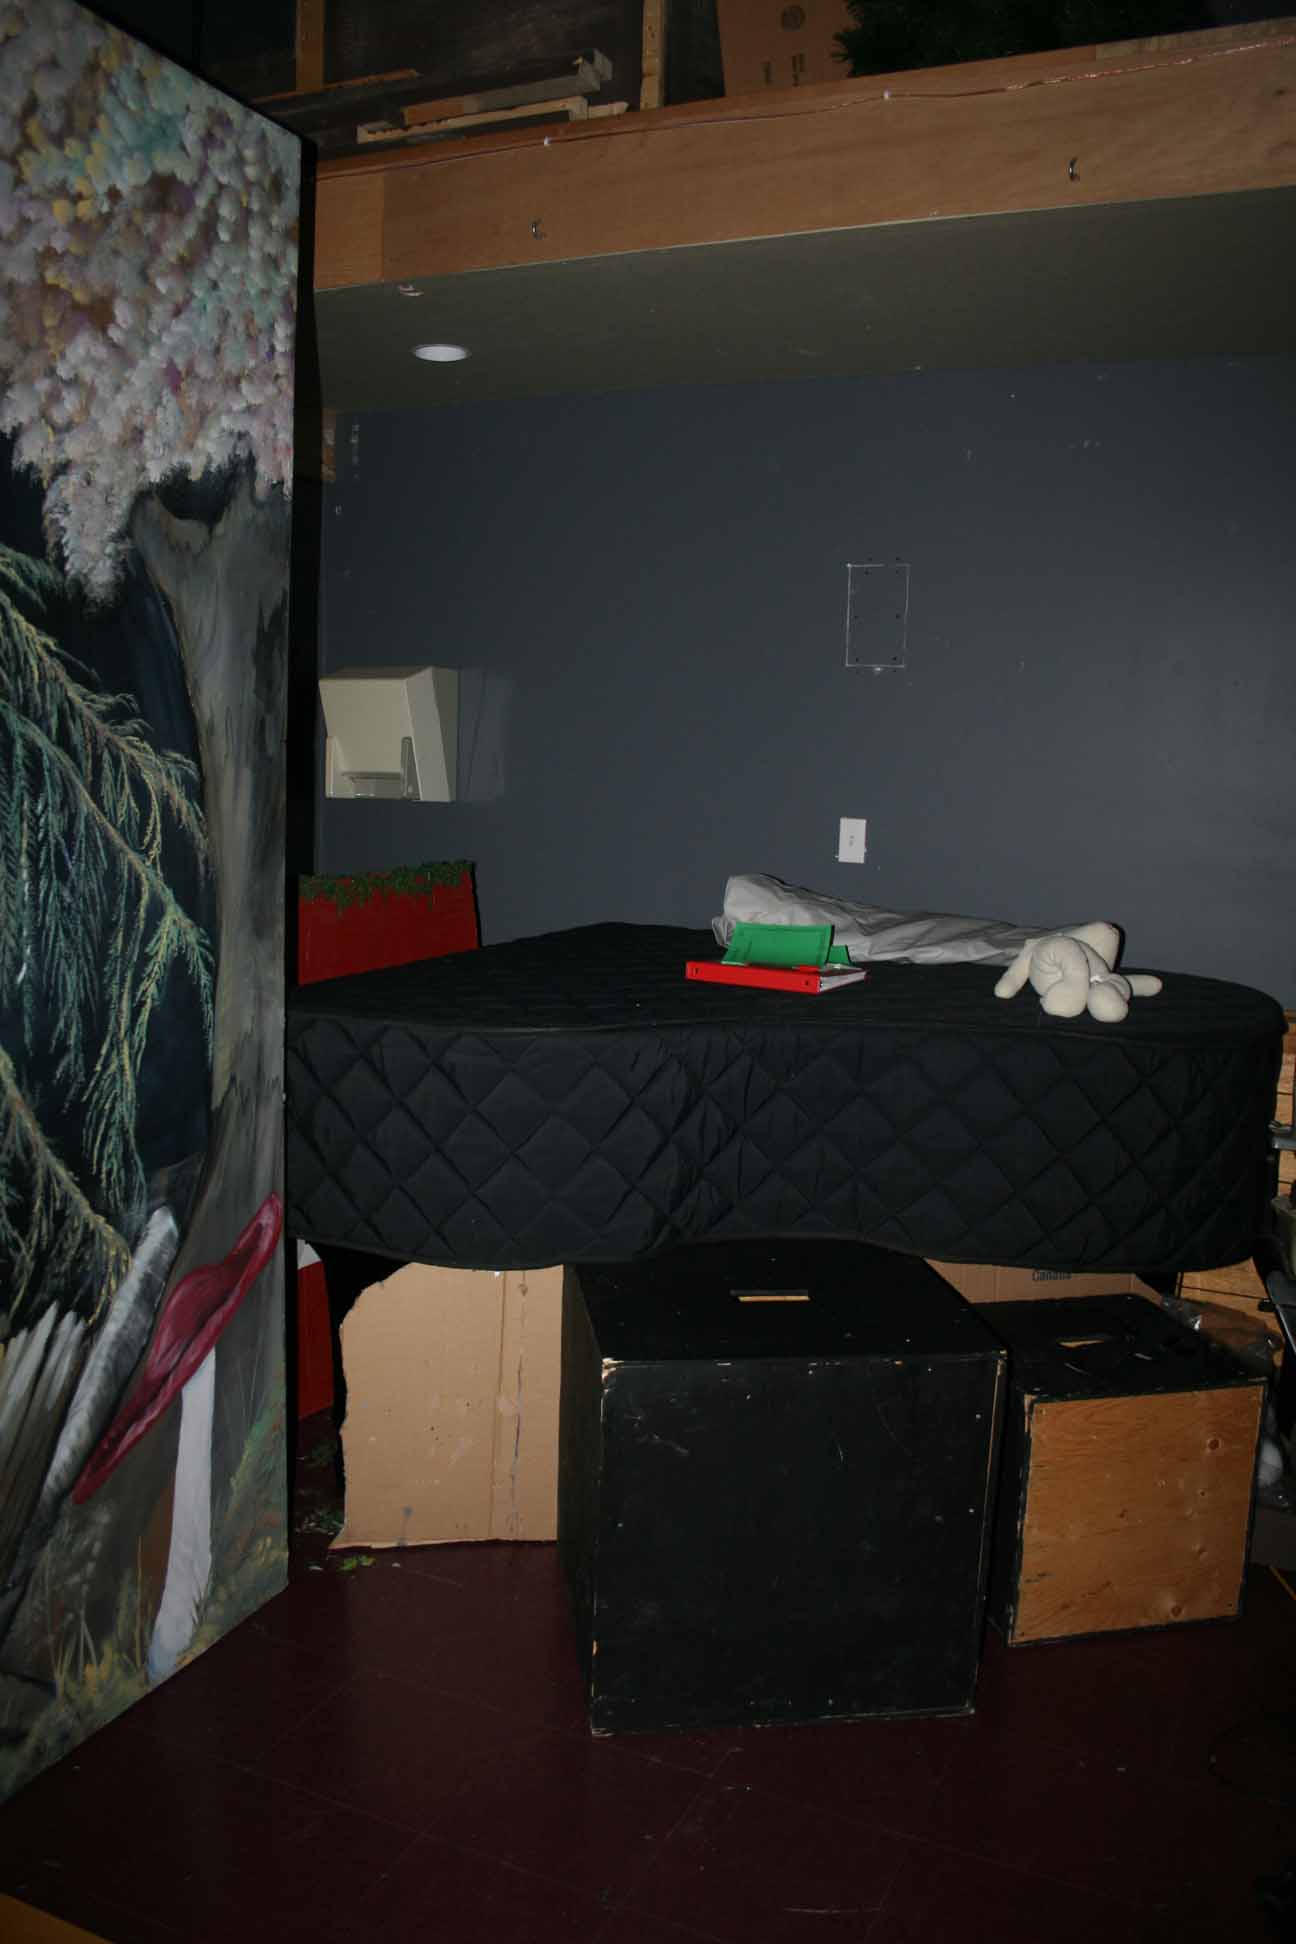
The beds used were inflatable cots which worked surprisingly well in appearance (they aren’t fully inflated or completely covered here as this was just prior to opening), mobility, and storage.
Two of the boxes formed nursery walls that were hung with curtains to conceal the first woodland scene.
Using two of the boxes as nursery walls was the best solution to where to put them when not in use. As you can see from this picture there was no place for them backstage either stage left…
…or stage right. That’s the third box in front of the theatre’s baby grand piano.
The Neverland woods.
Here’s a closer look. Most of the work was done with foam rollers, house painting brushes, and a 1 inch acrylic flat brush.
Rotating from woodland to lagoon. I used felt furniture pads on the bottom and the boxes moved quite well.
The lagoon set. The lines between the surfaces look quite heavy here. These pictures were shot in regular daylight. With the theatre lights on during the play run the dividing lines weren’t as noticeable.
Lagoon detail. I live near the northern shoreline of Lake Erie. If you’re familiar with the area you’ll definitely recognise elements of it in this composition.
Rotation from lagoon to split night woods and house underground.
During the play run these pieces were set up with a split between them so plot lines could develop on the stage back to back with only lighting changes
Night woods detail.
Rotation from split scene to pirate ship deck.
Pirate ship deck.
Pirate ship deck detail.
I’ve blurred the actors’ faces here so don’t be alarmed (they’re not melting). This rehearsal picture shows the actors utilising the split set.
Again I’ve blurred the actor’s face. This rehearsal (wet tech) picture shows the ship deck scene as stage lighting is being added.
This last picture below is me explaining to one of my stage managers how it’s all going to work. She later said she had her hands on her head not because she didn’t think it would work but because she was concerned about the amount of work that was required to get them sorted out. I’m around 5 1/2 feet tall and you can see that even with my arm fully extended I couldn’t reach the top. Though the boxes were large and the stage crew were all small women they had no problem moving them.
This blog post was originally shared on my old studio blog on December 30, 2013.
For a number of years I’ve participated as a volunteer with a local non profit group dedicated to the preservation of local community theater. It’s a cause I believe in and it’s been a great opportunity to utilize my skill set in ways I don’t normally get to. One of the things I’ve really enjoyed doing is building props and designing and building sets for productions. The director of the play may or may not have a vision for how he/she would like to proceed. There will be specific requirements that need to be met that will enable the story to be told properly. Of course there’s always a budget and as a non profit organization it can be pretty tight. It’s a fun sort of puzzle to figure out.
Production- The Farndale Avenue Housing Estate Townswomen’s Guild Dramatic Society Murder Mystery – A comedy by David McGillivray, Walter Zerlin Jr
For this play I painted a copy of The Laughing Cavalier by Frans Hal. It’s not an exact match as that wasn’t necessary (the painting didn’t present a major plot point in the play). I had an old canvas with a warped frame that I used (budget friendly). It was so crooked that it had to be nailed into the frame but it did the trick. This was a fun piece to work on and I really enjoyed recreating the richness of the fabrics. The painting was mounted on a stage flat that was flipped upside down during the play. I have no idea where this painting ended up. The actress in the photo (I’ve covered up her face as I don’t have her permission to use her image) asked if she could have it and then later passed it on to someone else. These are the only pictures I have of the canvas. This was the very first set I helped build and it never occurred to me to take good pictures so I could share them until later in my history of volunteering with the organization.
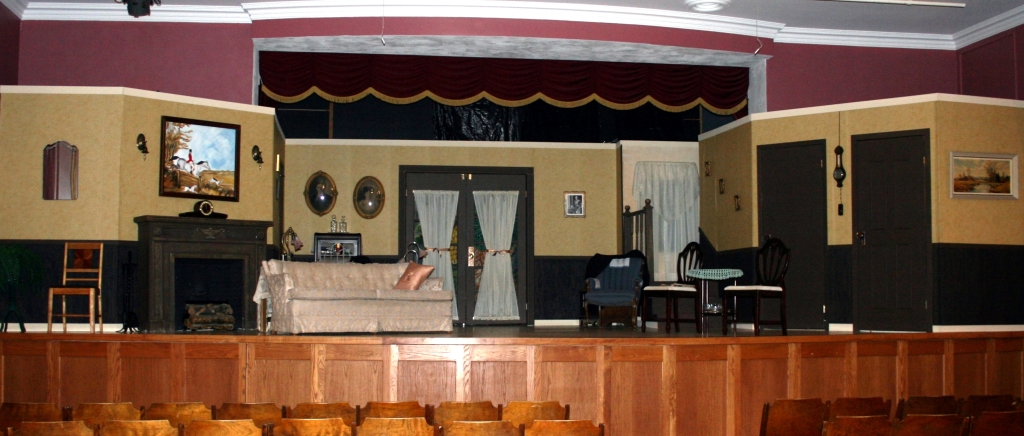
Production- See How They Run Author – Philip King
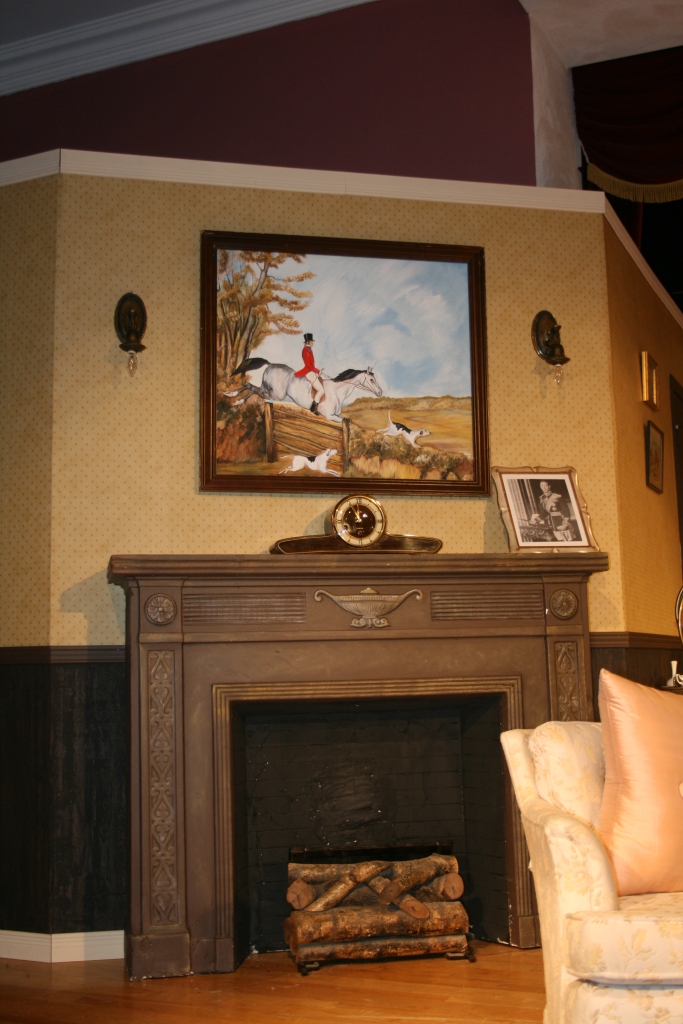
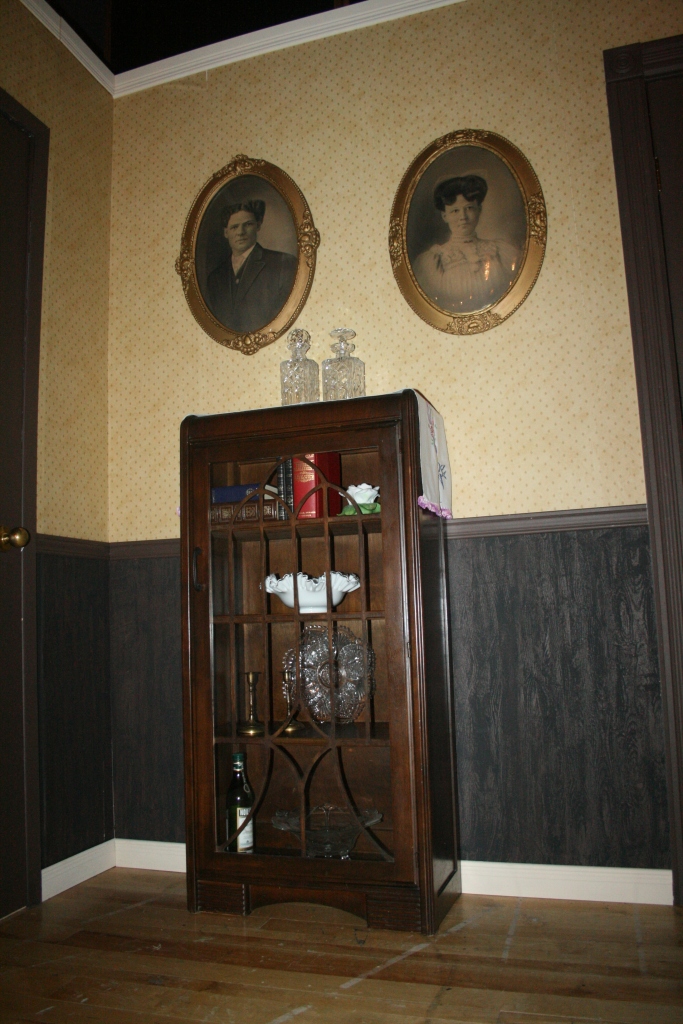
This was one of my very favourite set builds. The director simply requested that the set looked 1940’s-ish so that left things pretty open. The action takes place in an English vicarage. This was a set build that required quite a bit of construction but the real fun was in the details. We finished the walls with this great wallpaper that looked really dated and used a hand painted faux finish to give the appearance of wood grained wainscoting. The plaster fireplace was left over from a prior production and only required a new finish. There’s a whole school of painting from the 1800’s regarding horse and hound hunting in the English countryside. I used imagery from that tradition to create a painting for the wall behind the fireplace. To save money, I used a frame from a broken mirror with a piece of old hard board as a base. I have friends who are collectors and they were kind enough to let me come over and “shop” their home for 1940s-ish props and furniture. We were able to fit retro French doors and period lights into the budget. I used an old sheet primed with house latex to put together a backdrop that was hung behind the French doors.
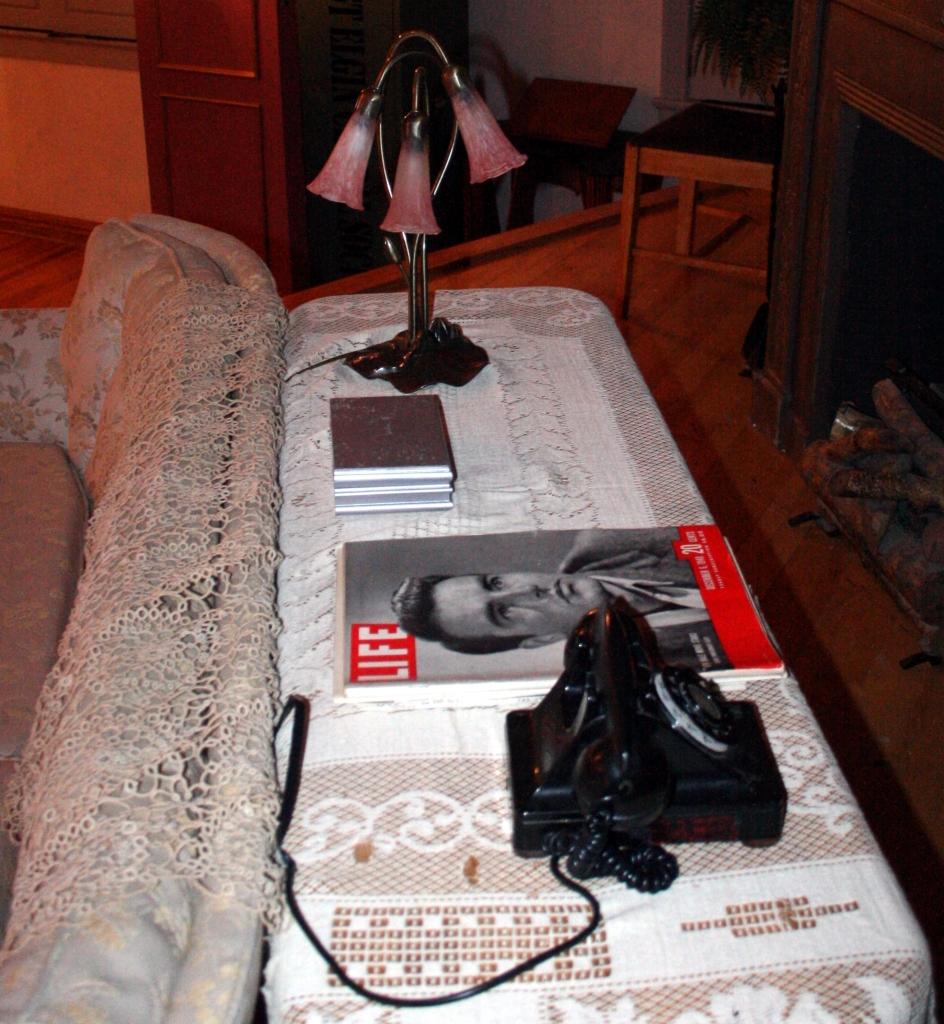
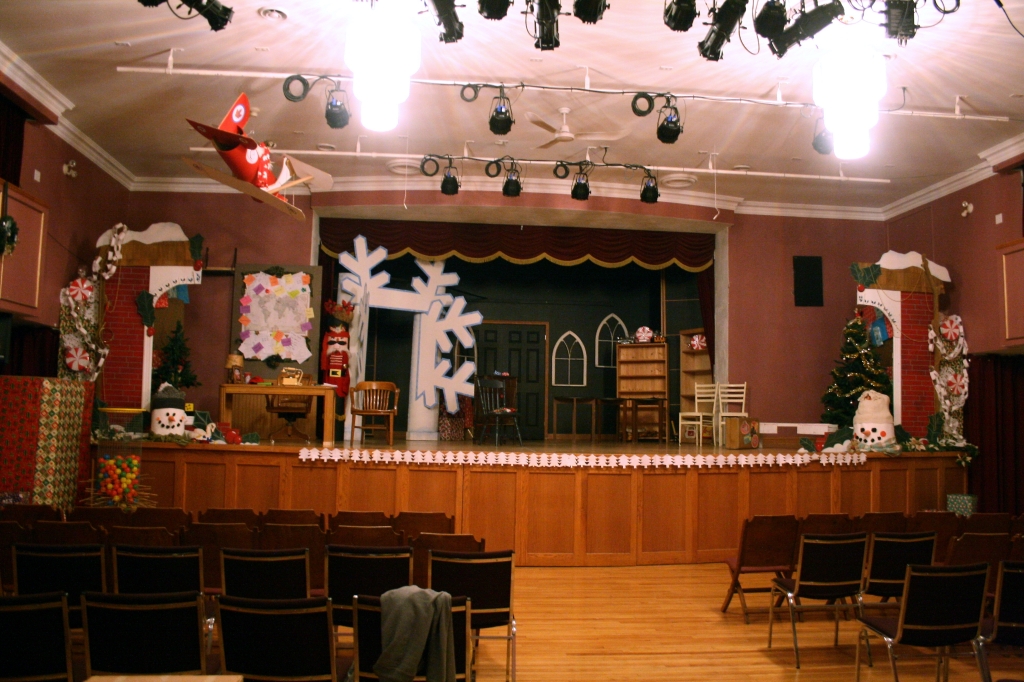
Production- Dear Santa Author – Norm Foster
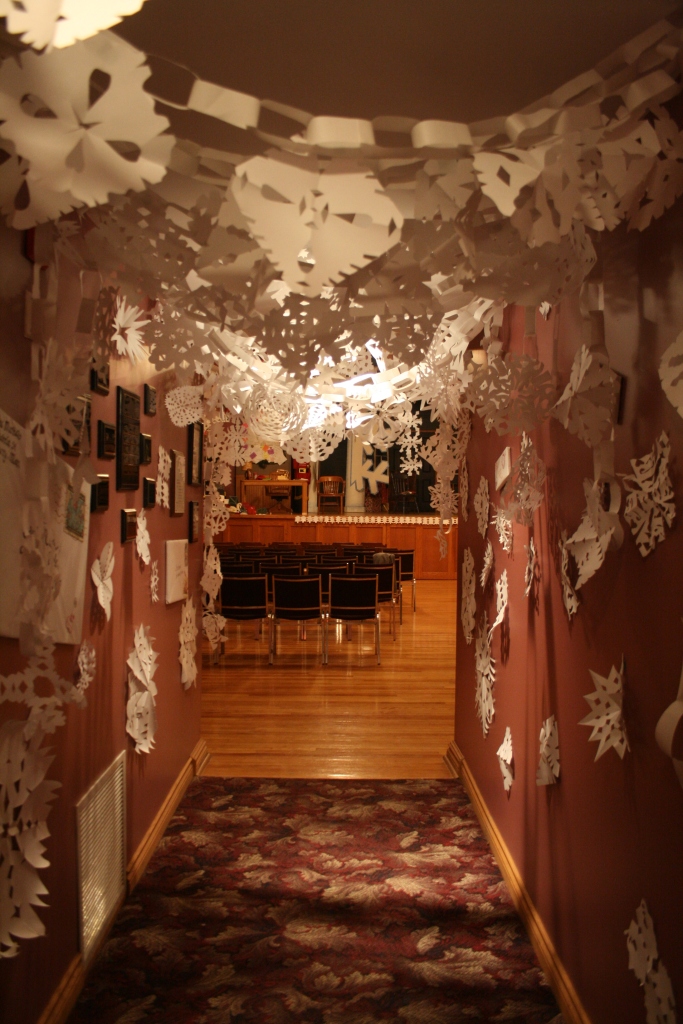
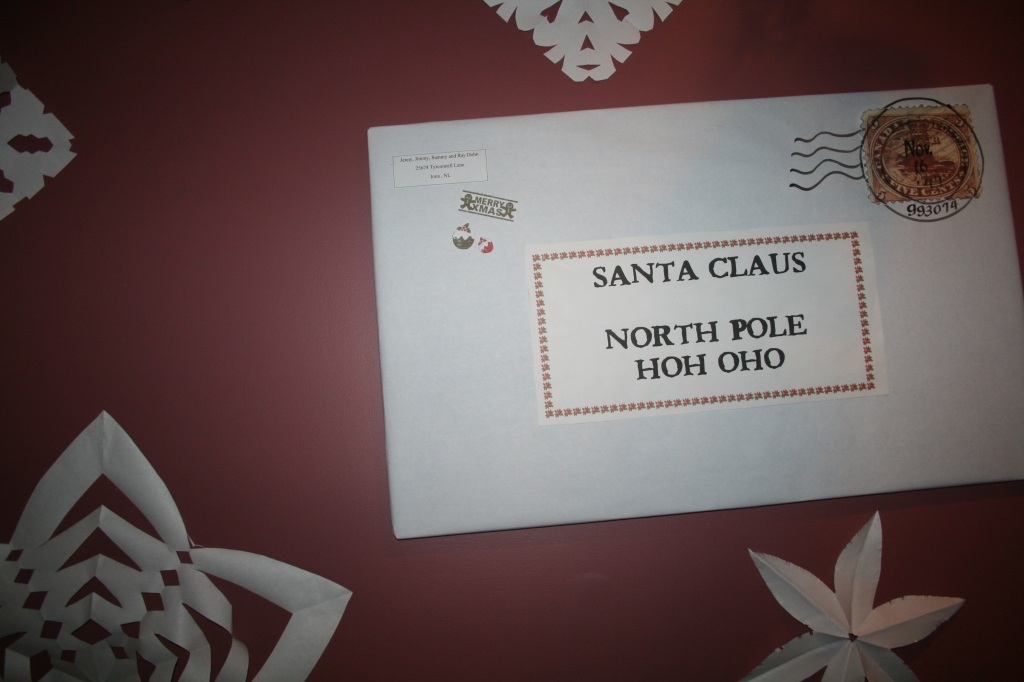
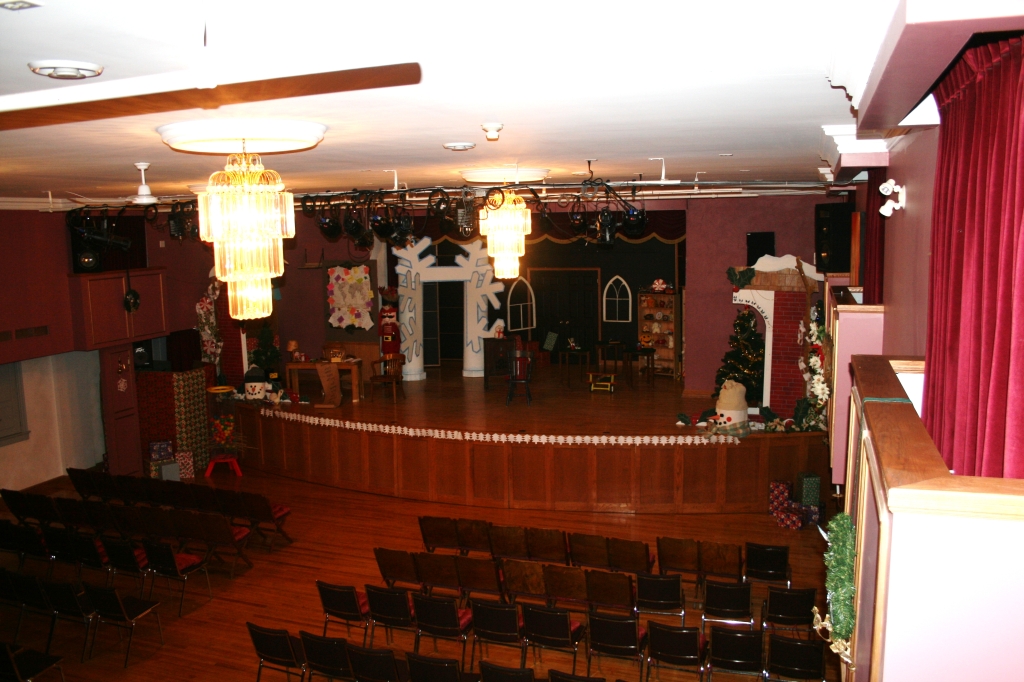
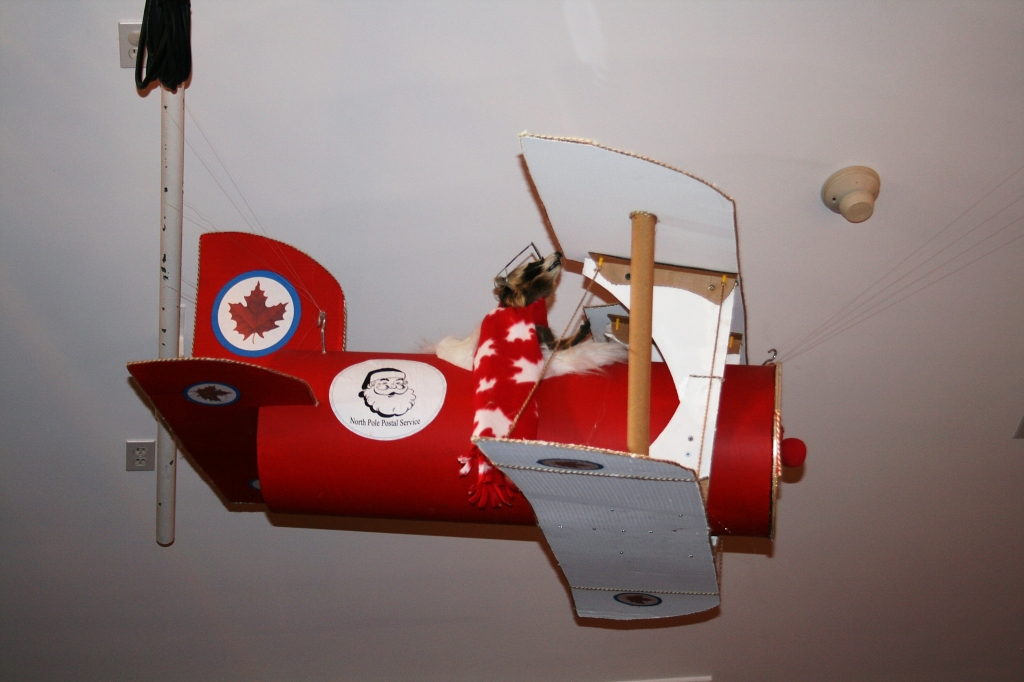
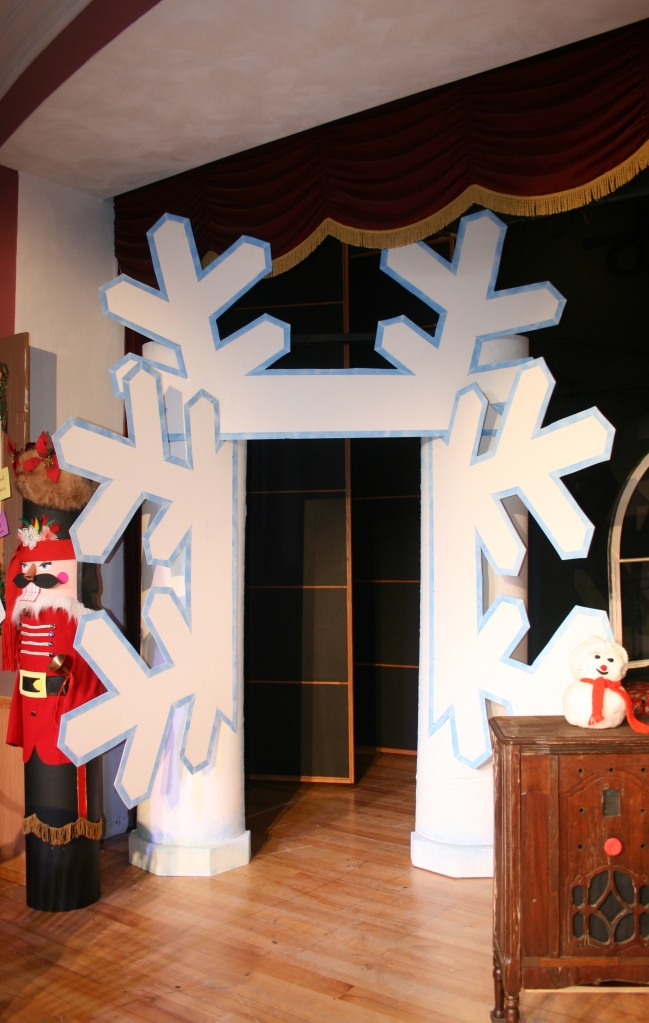
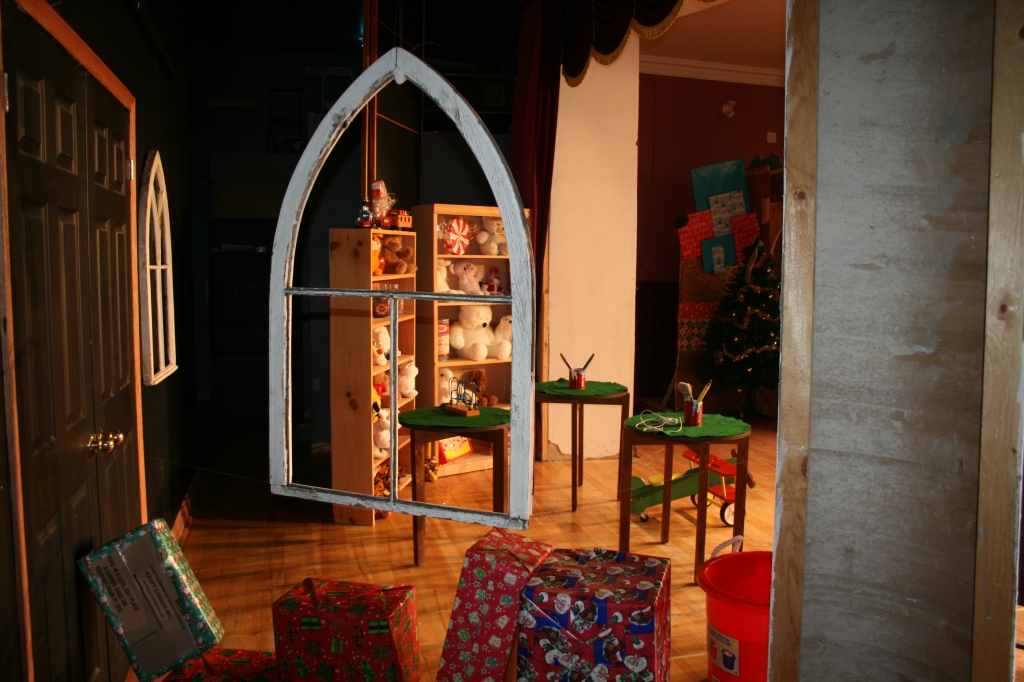
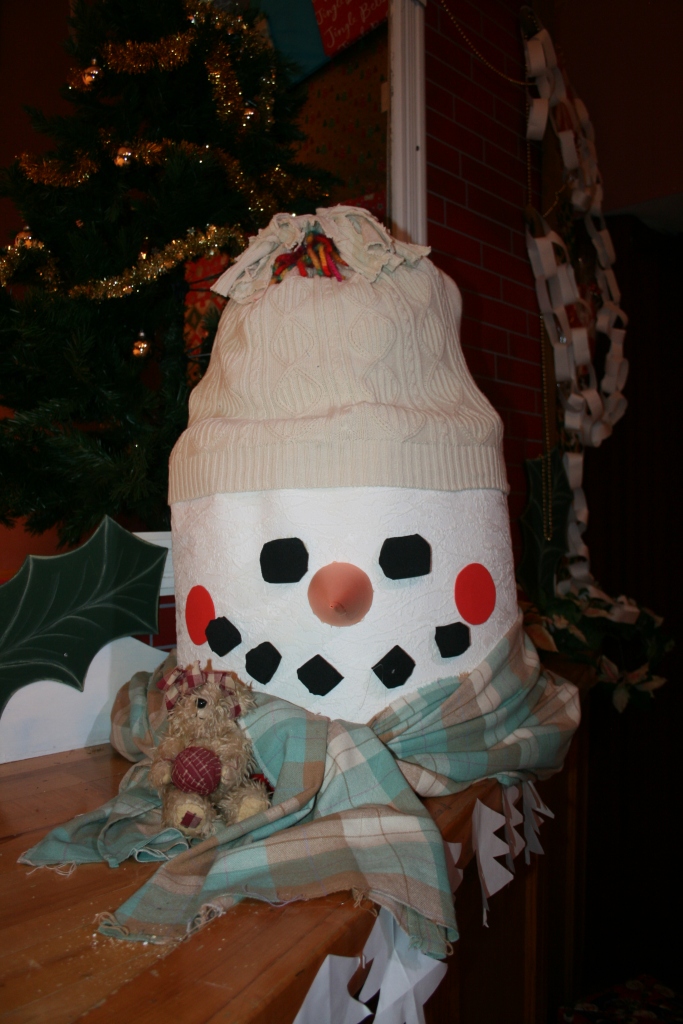
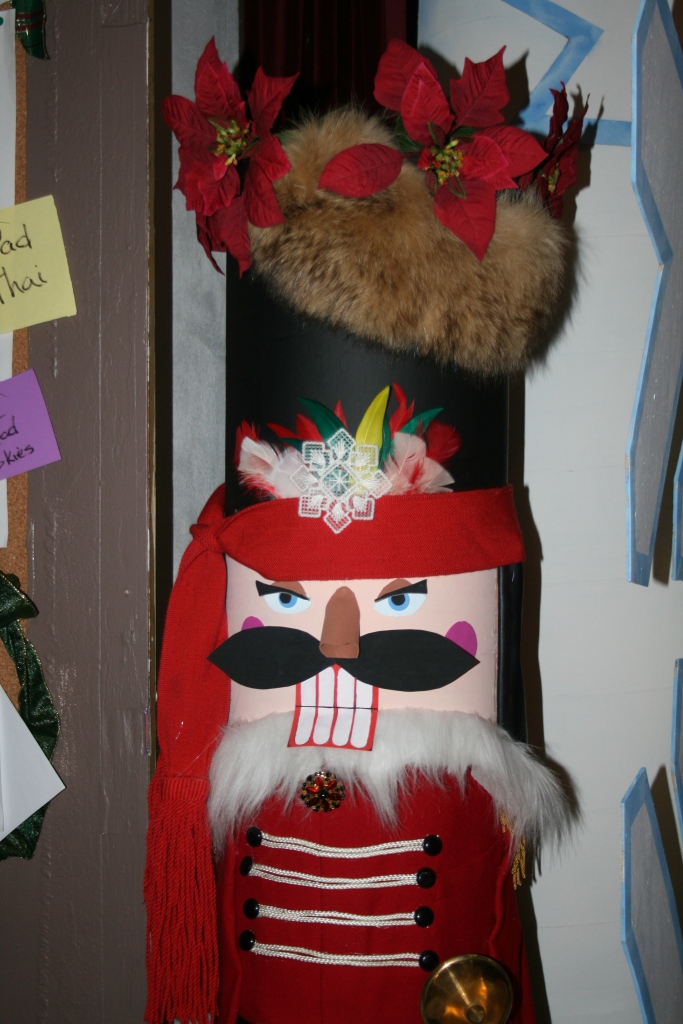
This play ran from December 5th to December 14th, 2013. The set design for this production presented some interesting challenges. The director wanted a very open set with no flats across the back. She wanted it to appear as if the audience was viewing the production through a picture window but the window couldn’t take up any significant space. The main action was to take place in two areas, Santa’s office and Santa’s work shop. It was a very large cast so there really wasn’t room for much of anything on the stage. Dressing the theater was a great way to create atmosphere so I built a number of props for the space. I attempted to create the picture window effect by placing flats that resembled the outside of a building on the far sides of the stage. I defined the rest of the space through the placement of furniture and props. This was the first play for which I personally constructed, not just decorated, the flats and structures (bit of a learning curve but I got pretty handy with a jigsaw by the end). The theater is located in a public building and the space is used by a variety of groups so I had to construct the pieces offsite (you can see some pictures of the space I used for the buildhere ). I had built a large archway to look like a giant snowflake. I wanted to make sure it was wide enough and tall enough for Santa to pass through. When I got it to the theater I discovered that it was too large to sit under the stage valance. Oops! We moved it around until half of it rested in front of the valance and the rest behind. The half flats at each end of the stage did look like window openings but because they left the stage really open (as the director requested) there was a line of sight issue that allowed the audience to see back into areas they should not be able to see into. Taking a hint from hand crafted Christmas cards I built decorative accents that addressed that issue.
I currently run two blogs. I do try to read posts by fellow bloggers that I follow but I’ve not posted on either of my blogs in quite some time. I’ve made the decision to delete my other blog at http://www.lorimilosivanskistudio.wordpress.com. I’ve enjoyed The Milos-Ivanski Studio blog and the people I’ve met online through it but this is my original blog and it’s the one I’d like to keep. It was established in 2005. Originally supported on the MSN Spaces blogging platform, the site has been migrated twice; first to Windows Live Spaces and now to the current platform at WordPress. Over the next little while I’ll be transferring some (not all) of the content at The Milos-Ivanski Studio blog to here. That content will be mostly be listed in an Art or Theatre category. Cheers, Lori